
Switching from Mailchimp
Overview
This guide moves your newsletter from Mailchimp to Reach. You bring your contacts, your tags, your sending address and your past newsletters. Your workflows take the place of Mailchimp’s automations.
Before you start
You need a role that can import people and manage newsletters. To add a sending domain, you need access to your domain’s DNS records.
In Mailchimp, export your audience as a CSV file. Keep your Mailchimp account open until the move is done.
Import your contacts
Keep only subscribed contacts
Remove unsubscribed and cleaned contacts from the file. Reach’s import does not record consent, so each person in the file can receive email.
Make smaller files
Make smaller files from a file with more than 5 000 rows. One import takes at most 5 000 rows.
Open the screen
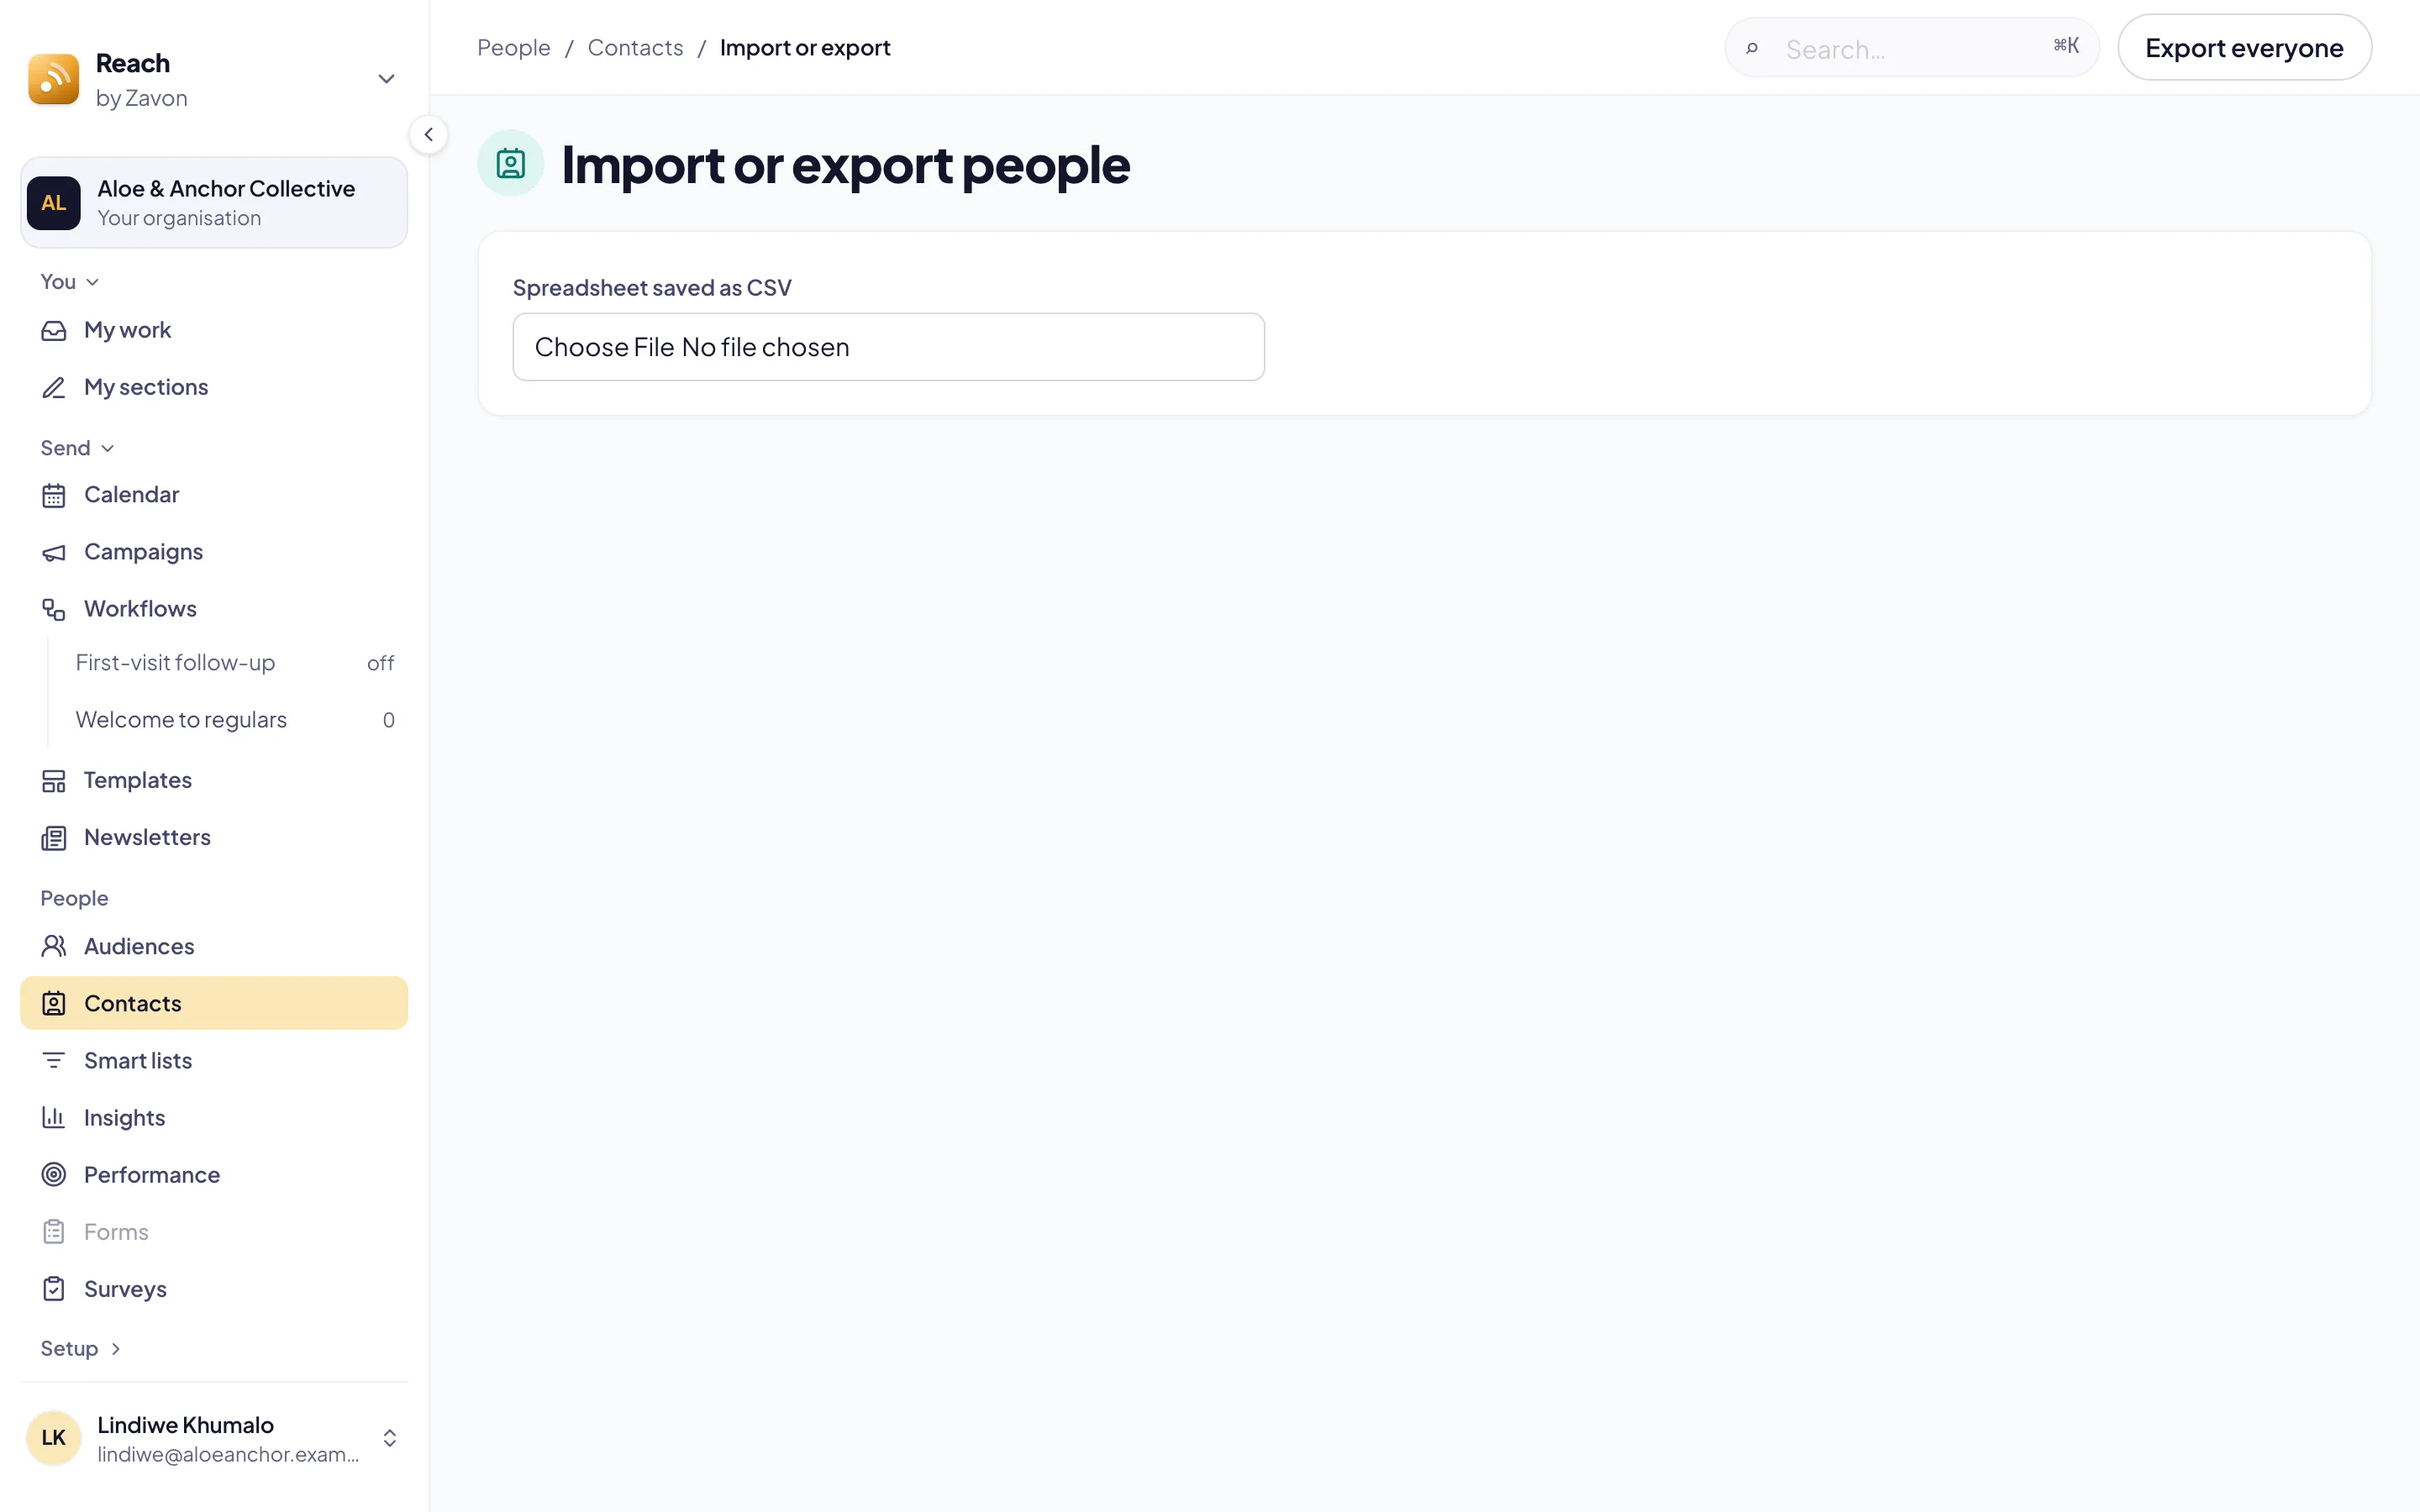
In the sidebar, select People › Contacts. Then select Import or export.
Add the file
Drag the CSV file onto Spreadsheet saved as CSV. Or select the button in the drop zone, then pick the file.
Map the columns
Set Becomes for each column: Email, First name, Last name and Tags. Set Leave out for the others.
Check the import
Select Check the import. Reach shows how many people are new, updated, unchanged and left out.
Import
Select Import N people. The people show in Contacts when the import is done.
Send from your own address
Open the screen
In the sidebar, select Setup › Sending domains.
Add the domain
Select Add a domain. Type the Domain, then select Add domain.
Publish the records
Add the records that Reach shows to your domain’s DNS.
Verify
Select Verify DNS records. DKIM and Return-Path must pass; SPF and DMARC are advised.
Replace your automations
Open workflows
In the sidebar, select Send › Workflows.
Start from a journey
Open Journeys and select Install on a journey that fits. It installs switched off.
Pick what starts it
In a workflow, set Starts when to an event, a date, a schedule or a manual start.
Turn it on
Check the emails in the workflow. Then turn the workflow on.
Troubleshooting
If the import says a row is the same person as another line, remove the repeated row.
If Check the import is grey, set the column with the email address.
If a file has more than 5 000 rows, split it and import each part.
If pictures in an imported newsletter stop showing, select Copy images to library before you close the Mailchimp account.
Good to know
Undo for seven days. An import can be undone for seven days on the Import or export screen.
Unsubscribes and bounces. Every newsletter has an unsubscribe link. Hard bounces and complaints are stopped for that address.
Events and forms. Event registrations and website forms reach Reach on their own. They can start a workflow.
Import or export people: the import screen in full.
Smart lists: lists that follow rules.
Send a newsletter: write and send an issue.
Journeys: ready-made workflows.
Approve a newsletter before it is sent: approvals.