
Media library
Overview
The media library holds your organisation’s photos. Content editors upload photos, file them under locations and add tags. Galleries, carousels and other blocks show the photos that match their settings.
Select Take the tour on the Media screen for a short tour of it.
Before you start
To upload and change photos, your role needs Edit on the Media area. Without it, you can look at the library and pick photos for pages. See Roles and access.
If your role can edit media at some locations only, you upload and change photos at those locations only.
Have the photos ready. Each photo can be up to 25 MB. A zip file can be up to 200 MB.
Upload photos
Start the upload
In the sidebar, select Site › Media. Select Upload photos. The upload steps open.
Add the photos
Drag up to 10 photos onto the box, or select the box to find them on your computer.
Or add a zip file
To upload more than 10 photos, select …or upload a zip and pick one zip file.
Go to the locations
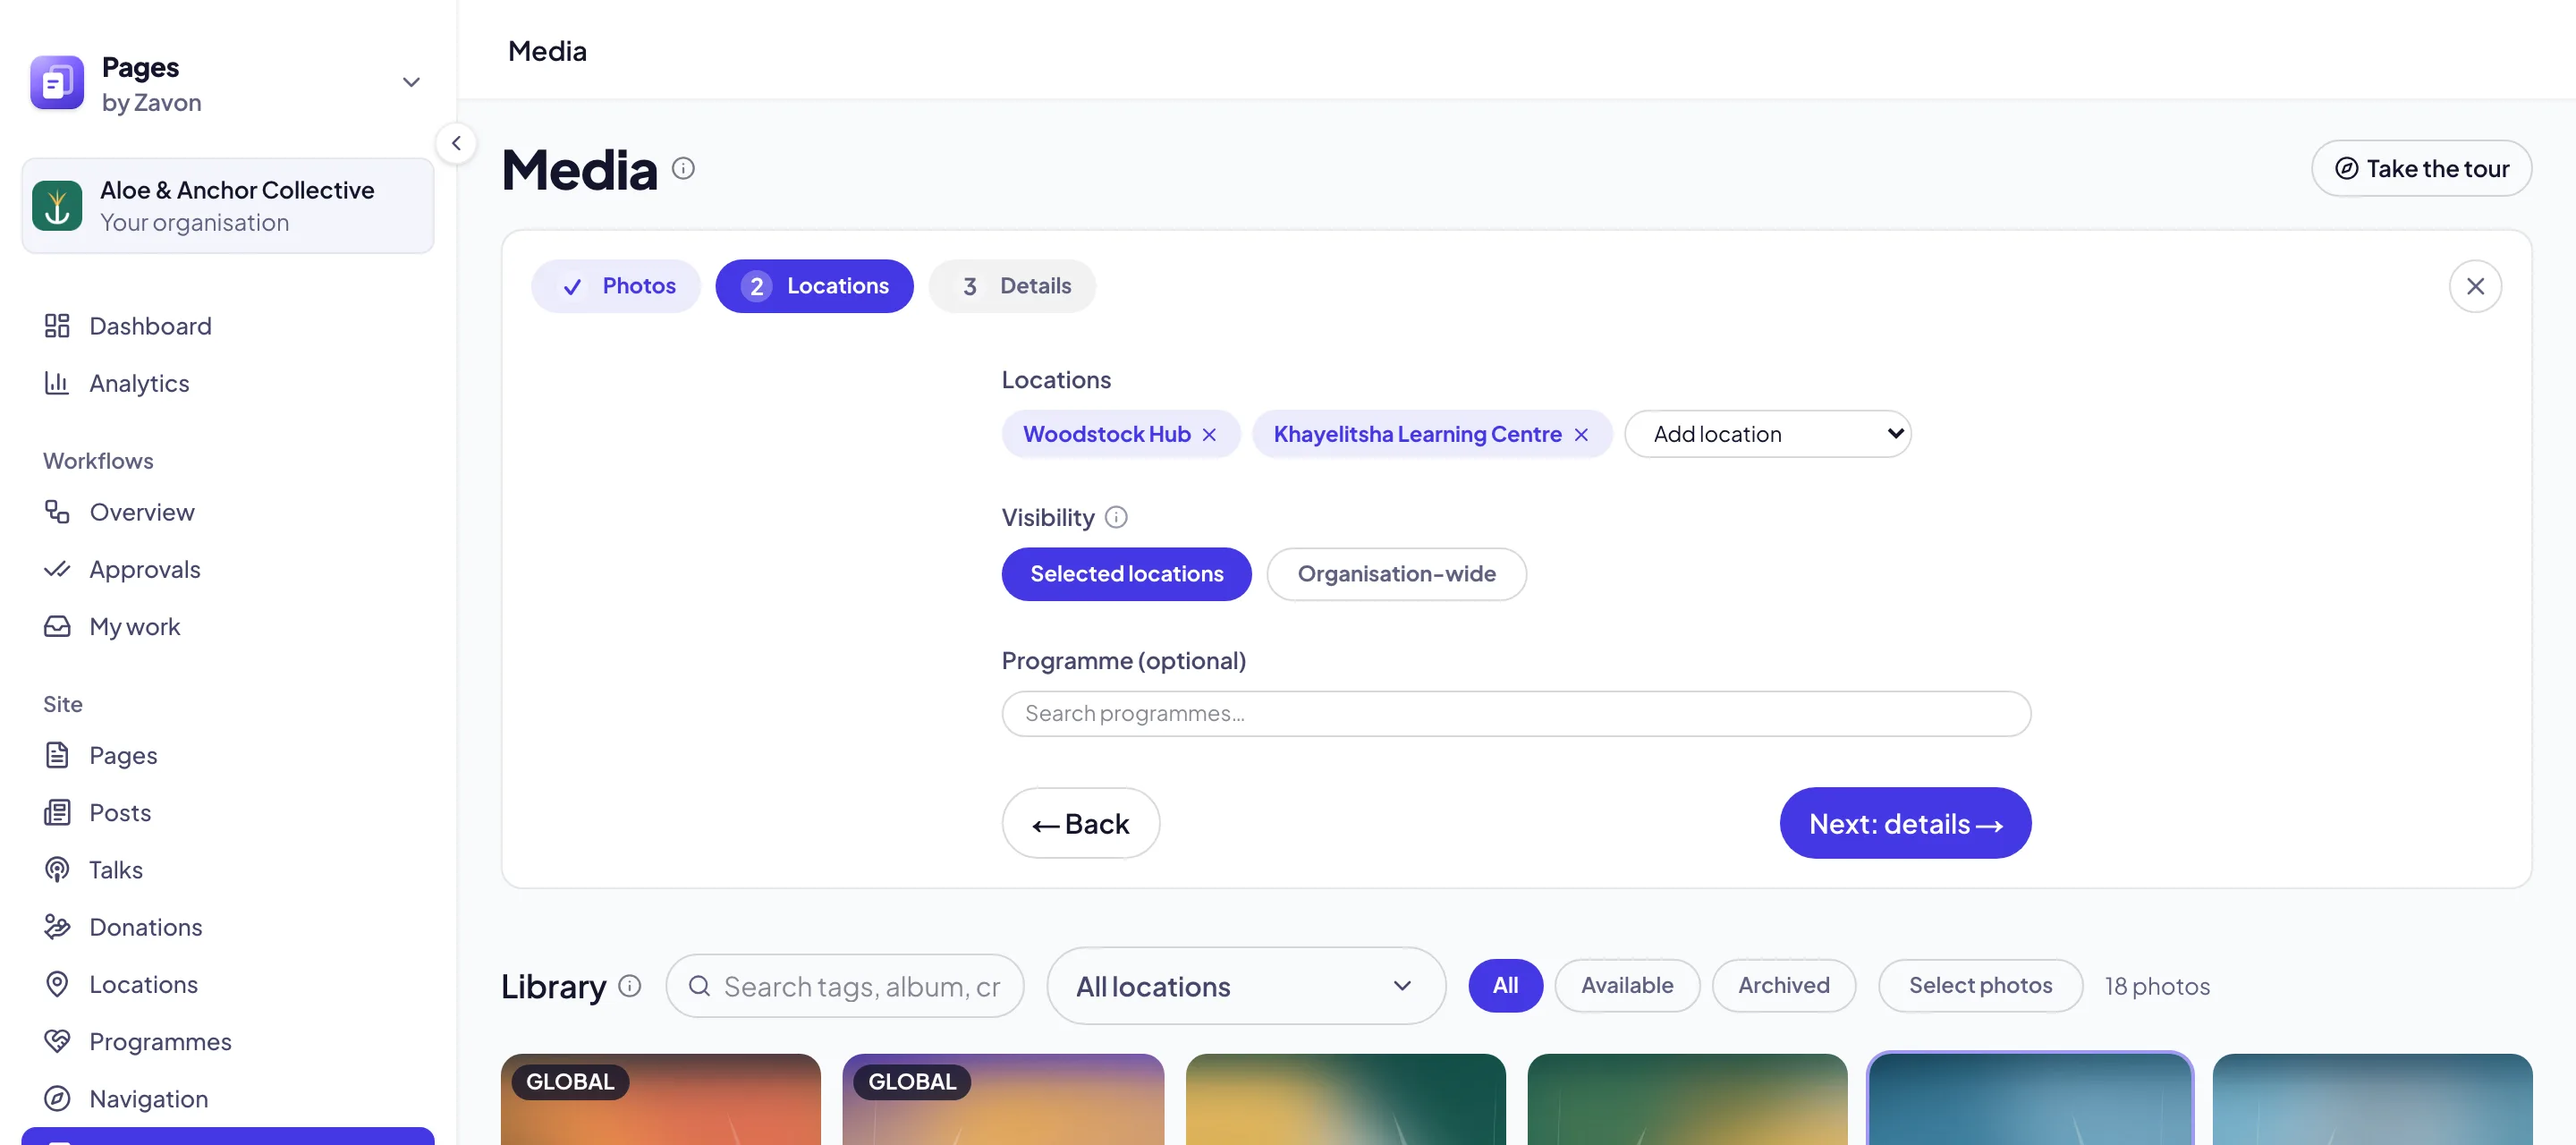
Select Next: Locations. Use Add location to file the photos under each location they belong to.
Set who sees them
Set Visibility to Selected locations or Organisation-wide. Optionally, search for a programme and add it.
Add the details
Select Next: details. Type Tags, an Album and a Photo credit.
Set an end date
If the photos are for a limited time, set an Expiry date. On that date they leave the site.
Upload them
Select Upload. The message gives the number of photos uploaded, and the library shows them.
Who sees a photo
Selected locations. Blocks of those locations show the photo. A block for the whole organisation does not.
Organisation-wide. Every block can show the photo, at every location.
Programme photo display. If you add a programme, set Organisation-wide to show the photo everywhere. Set Programme page only to show it on that programme’s page only.
Note: A block shows a photo only if the photo is active, not archived and not past its expiry date.
Find a photo
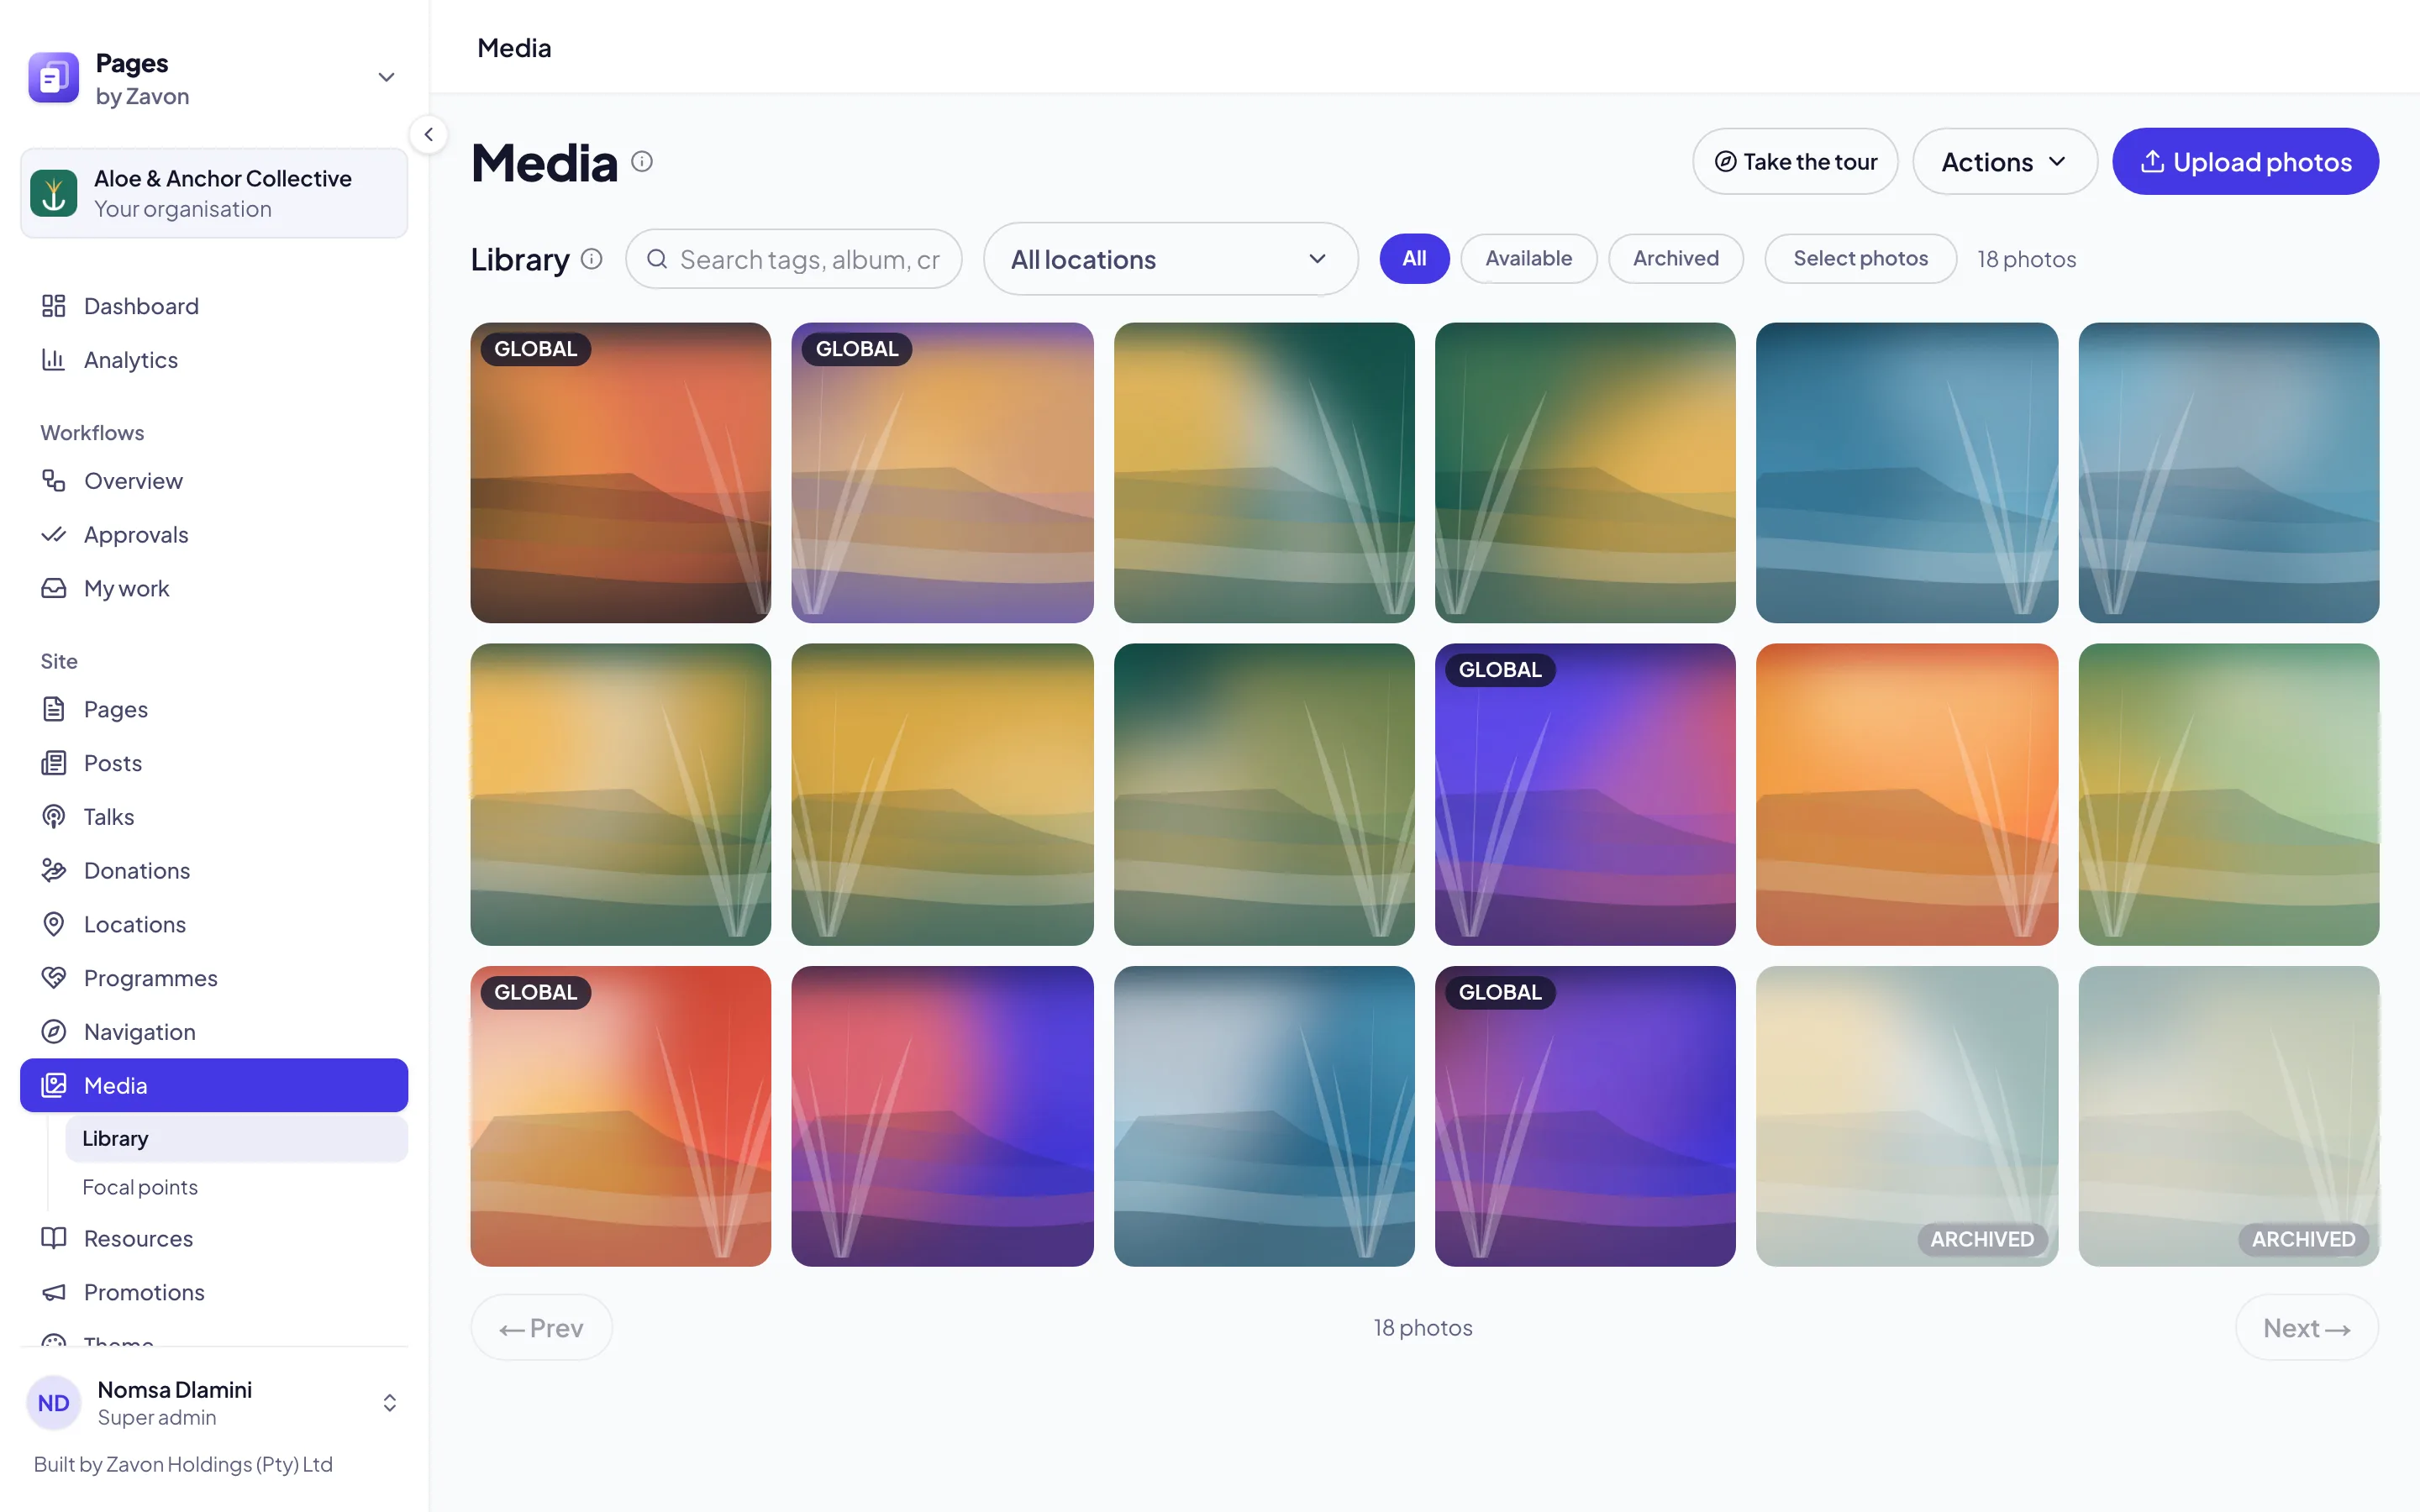
Search
Under Library, type a tag, an album or a photo credit in the search box.
Filter by location
Select All locations, then select one or more locations.
Filter by status
Select All, Available or Archived. Archived photos show faded, with the label Archived.
Change a photo
Open the photo
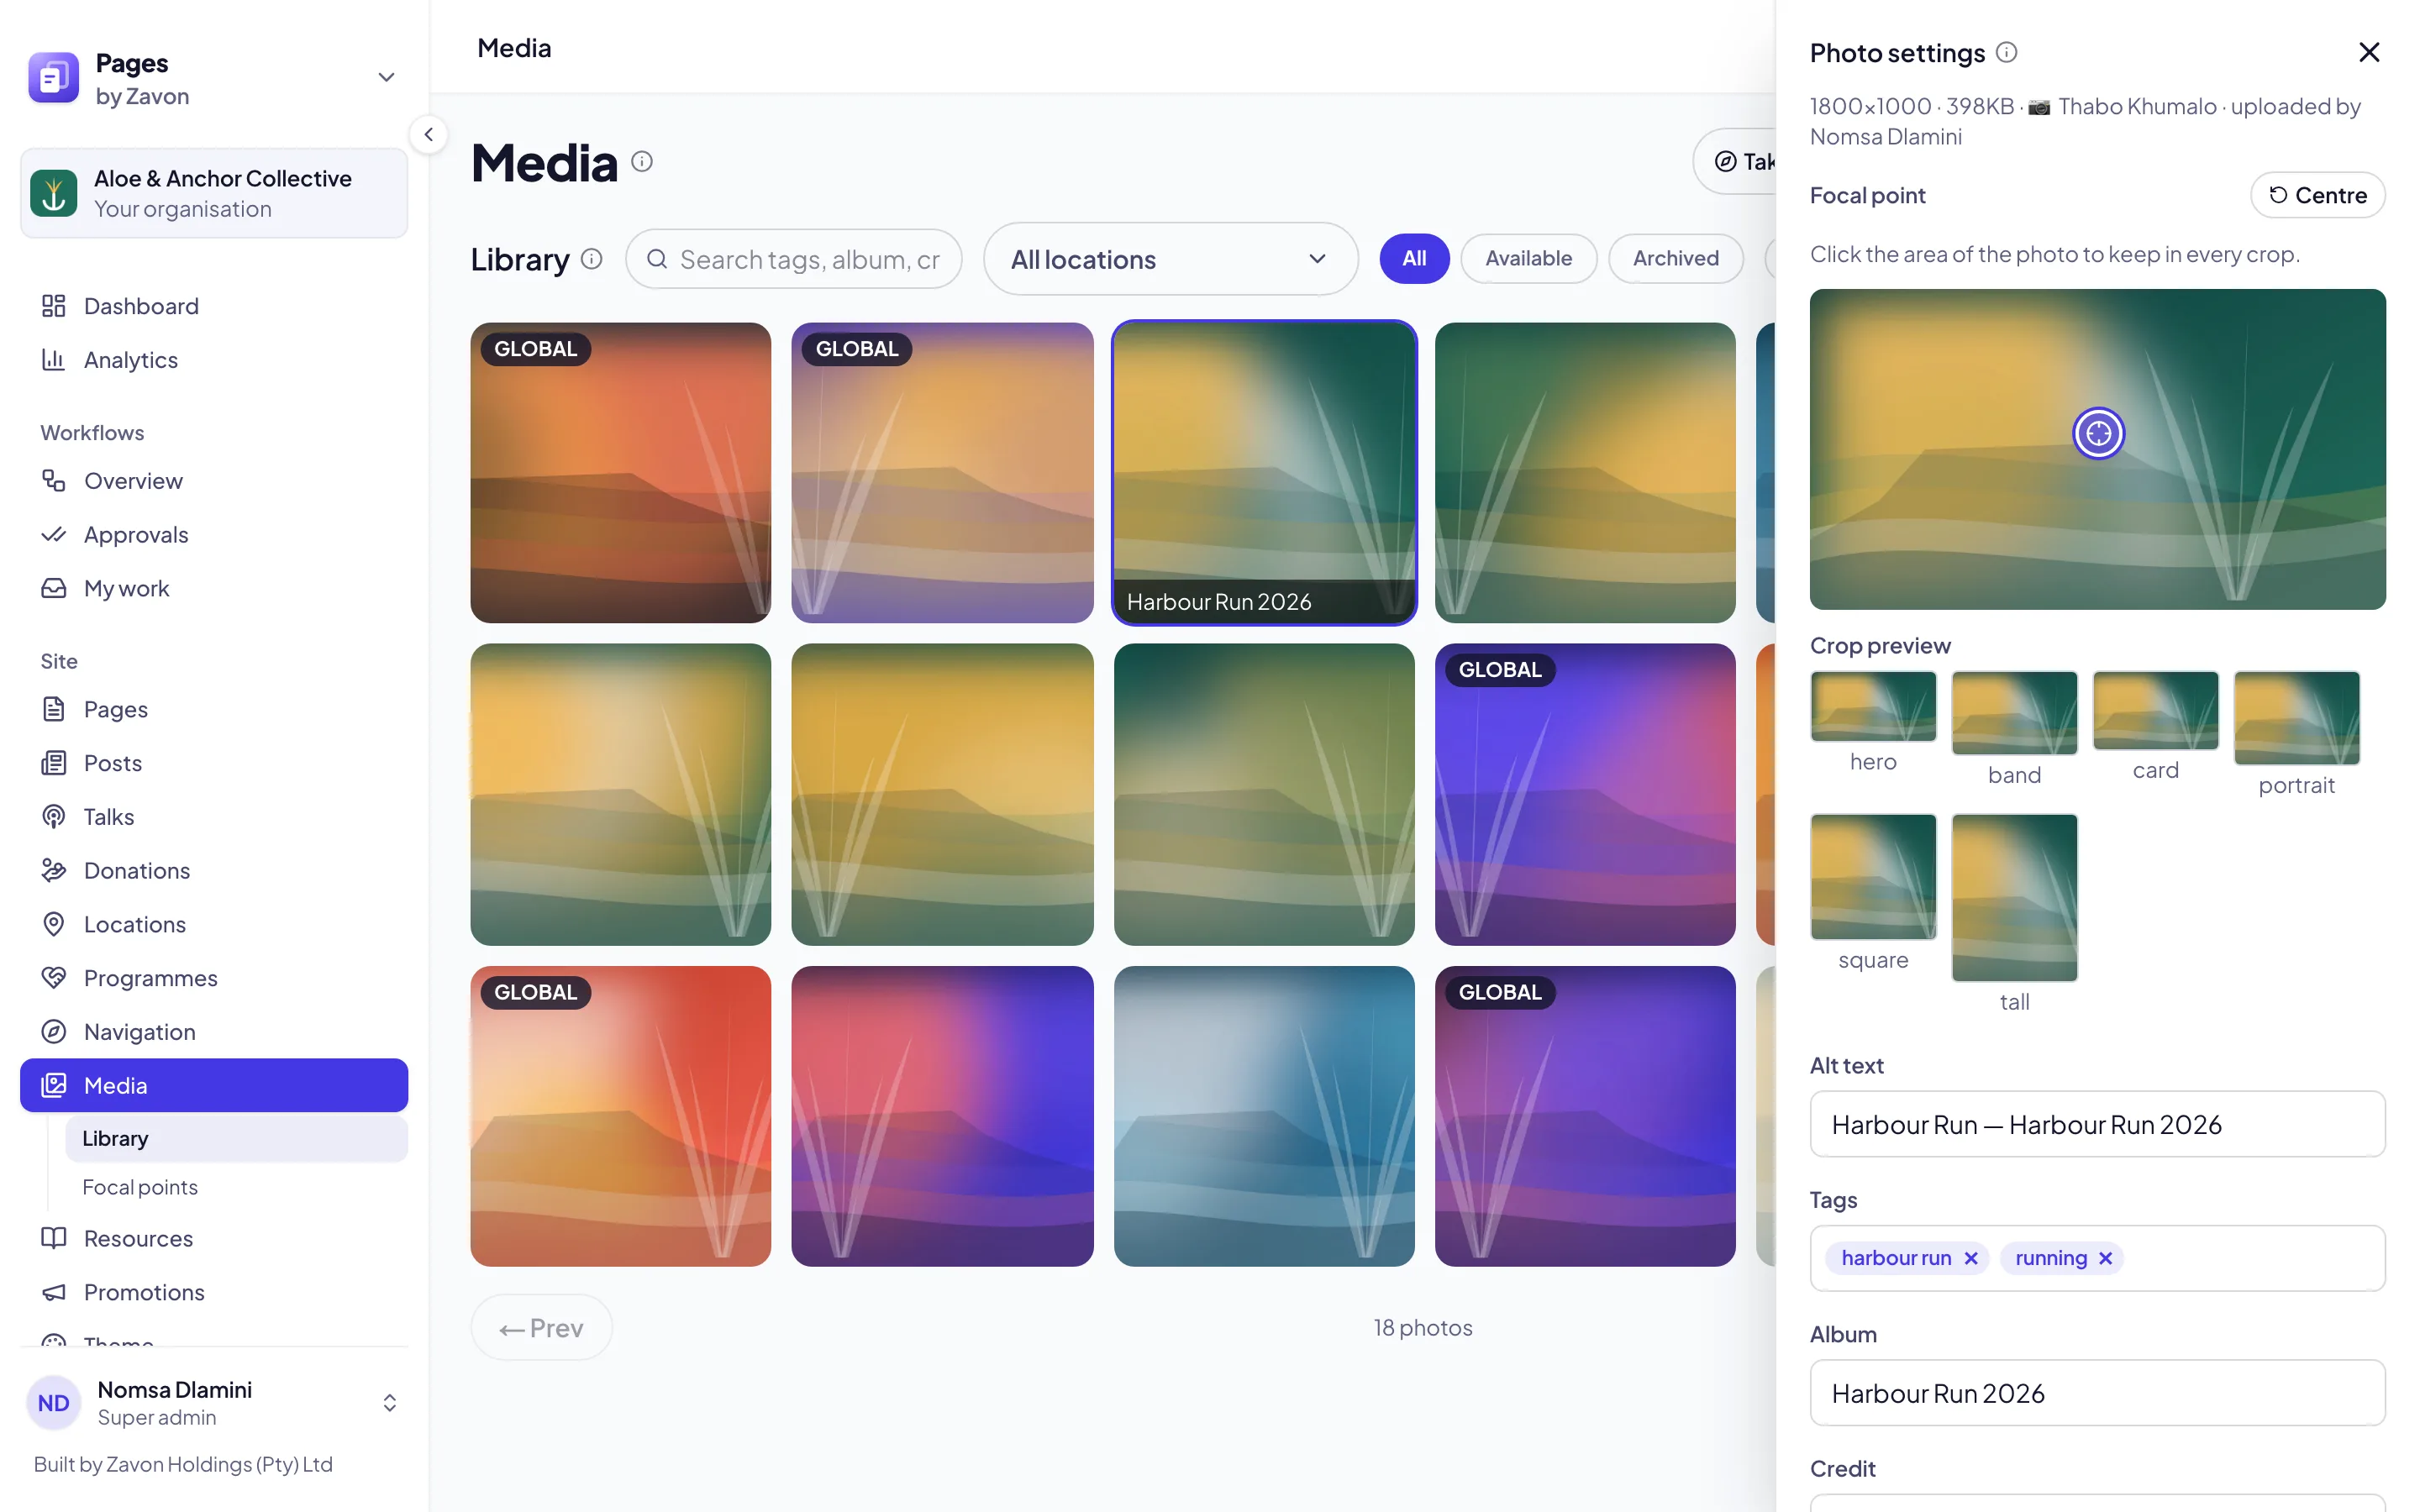
Select the photo in the library. The Photo settings panel opens on the right.
Set the focal point
Drag the point to the most important part of the photo. Crops keep that part in view.
Describe it
Type the Alt text: a short description for people who cannot see the photo.
Tag it
Type Tags, an Album and a Credit. Optionally, add the People in this photo.
Set where it shows
Set Visibility and the locations. To hide the photo, clear Active (visible on the site).
Save it
Select Save. The library shows the photo with its new settings.
Archive or restore photos
Start selecting
Select Select photos. Select each photo, or select Select all shown.
Archive them
Select Archive selected. The photos leave every block on the site and stay in the library.
Restore them
To show archived photos again, select them and select Restore selected.
Finish
Select Done selecting.
Tidy the library
Tag photos without tags
Select Actions › Tag untagged photos. Type tags for each photo, or skip it.
Set focal points
Select Actions › Set focal points. Set the point of each photo that has none.
Find near-duplicates
Select Actions › Near-duplicate photos. Keep one photo of each group. The others are archived.
Index older photos
Select Actions › Index for similar photos. New uploads are indexed automatically.
Troubleshooting
If a photo does not upload, it is not an image or it is larger than 25 MB. Export a smaller copy and upload it again.
If Next: details is not available, no location is selected. Add a location, or set Visibility to Organisation-wide.
If the photo settings are read-only, the photo is filed at a location where your role cannot edit media.
If a photo does not show on the site, make sure that it is active, not archived and not past its expiry date. Then look at the settings of the block.
If Actions is not on the screen, your role can edit media at some locations only. Actions works on the whole library.
Good to know
Large photos are made smaller. Before the upload, the console makes a photo over 2 MB smaller, to at most 1920 pixels wide.
Archived is not deleted. An archived photo keeps its settings. You can restore it at any time.
Delete removes the file. The delete button in Photo settings removes the photo from the library and from storage.
Blocks reference: the gallery and carousel blocks that show your photos.
Locations: the places you file photos under.
Roles and access: who may upload and change photos.