
Create your first workflow
A workflow moves each person through steps — emails, waits, reviews and data capture — starting from a trigger, such as a form submitted on your website, or from a date.
Set it up
Start a workflow
In the sidebar, under Send, choose Workflows, then + New workflow.
What starts it
On Basics, enter a Name. Choose Event and pick a Trigger — add Conditions with + Condition if only some people should start, and tick Once per person if nobody should go through twice — or choose Date and pick a Date field and an Offset (days).
Check the code
The Code cannot be changed later; it is also the topic people unsubscribe from. Choose Next: Steps →.
Add the steps
Under Add a step, choose Send email, Wait, Review / approval or Capture data. Give each step a Step name and fill in its settings, such as Who, Email and Copy in.
Test it
Choose Next: Check →. Start a test run walks you through it as the person — test runs send real emails, to you.
Switch it on
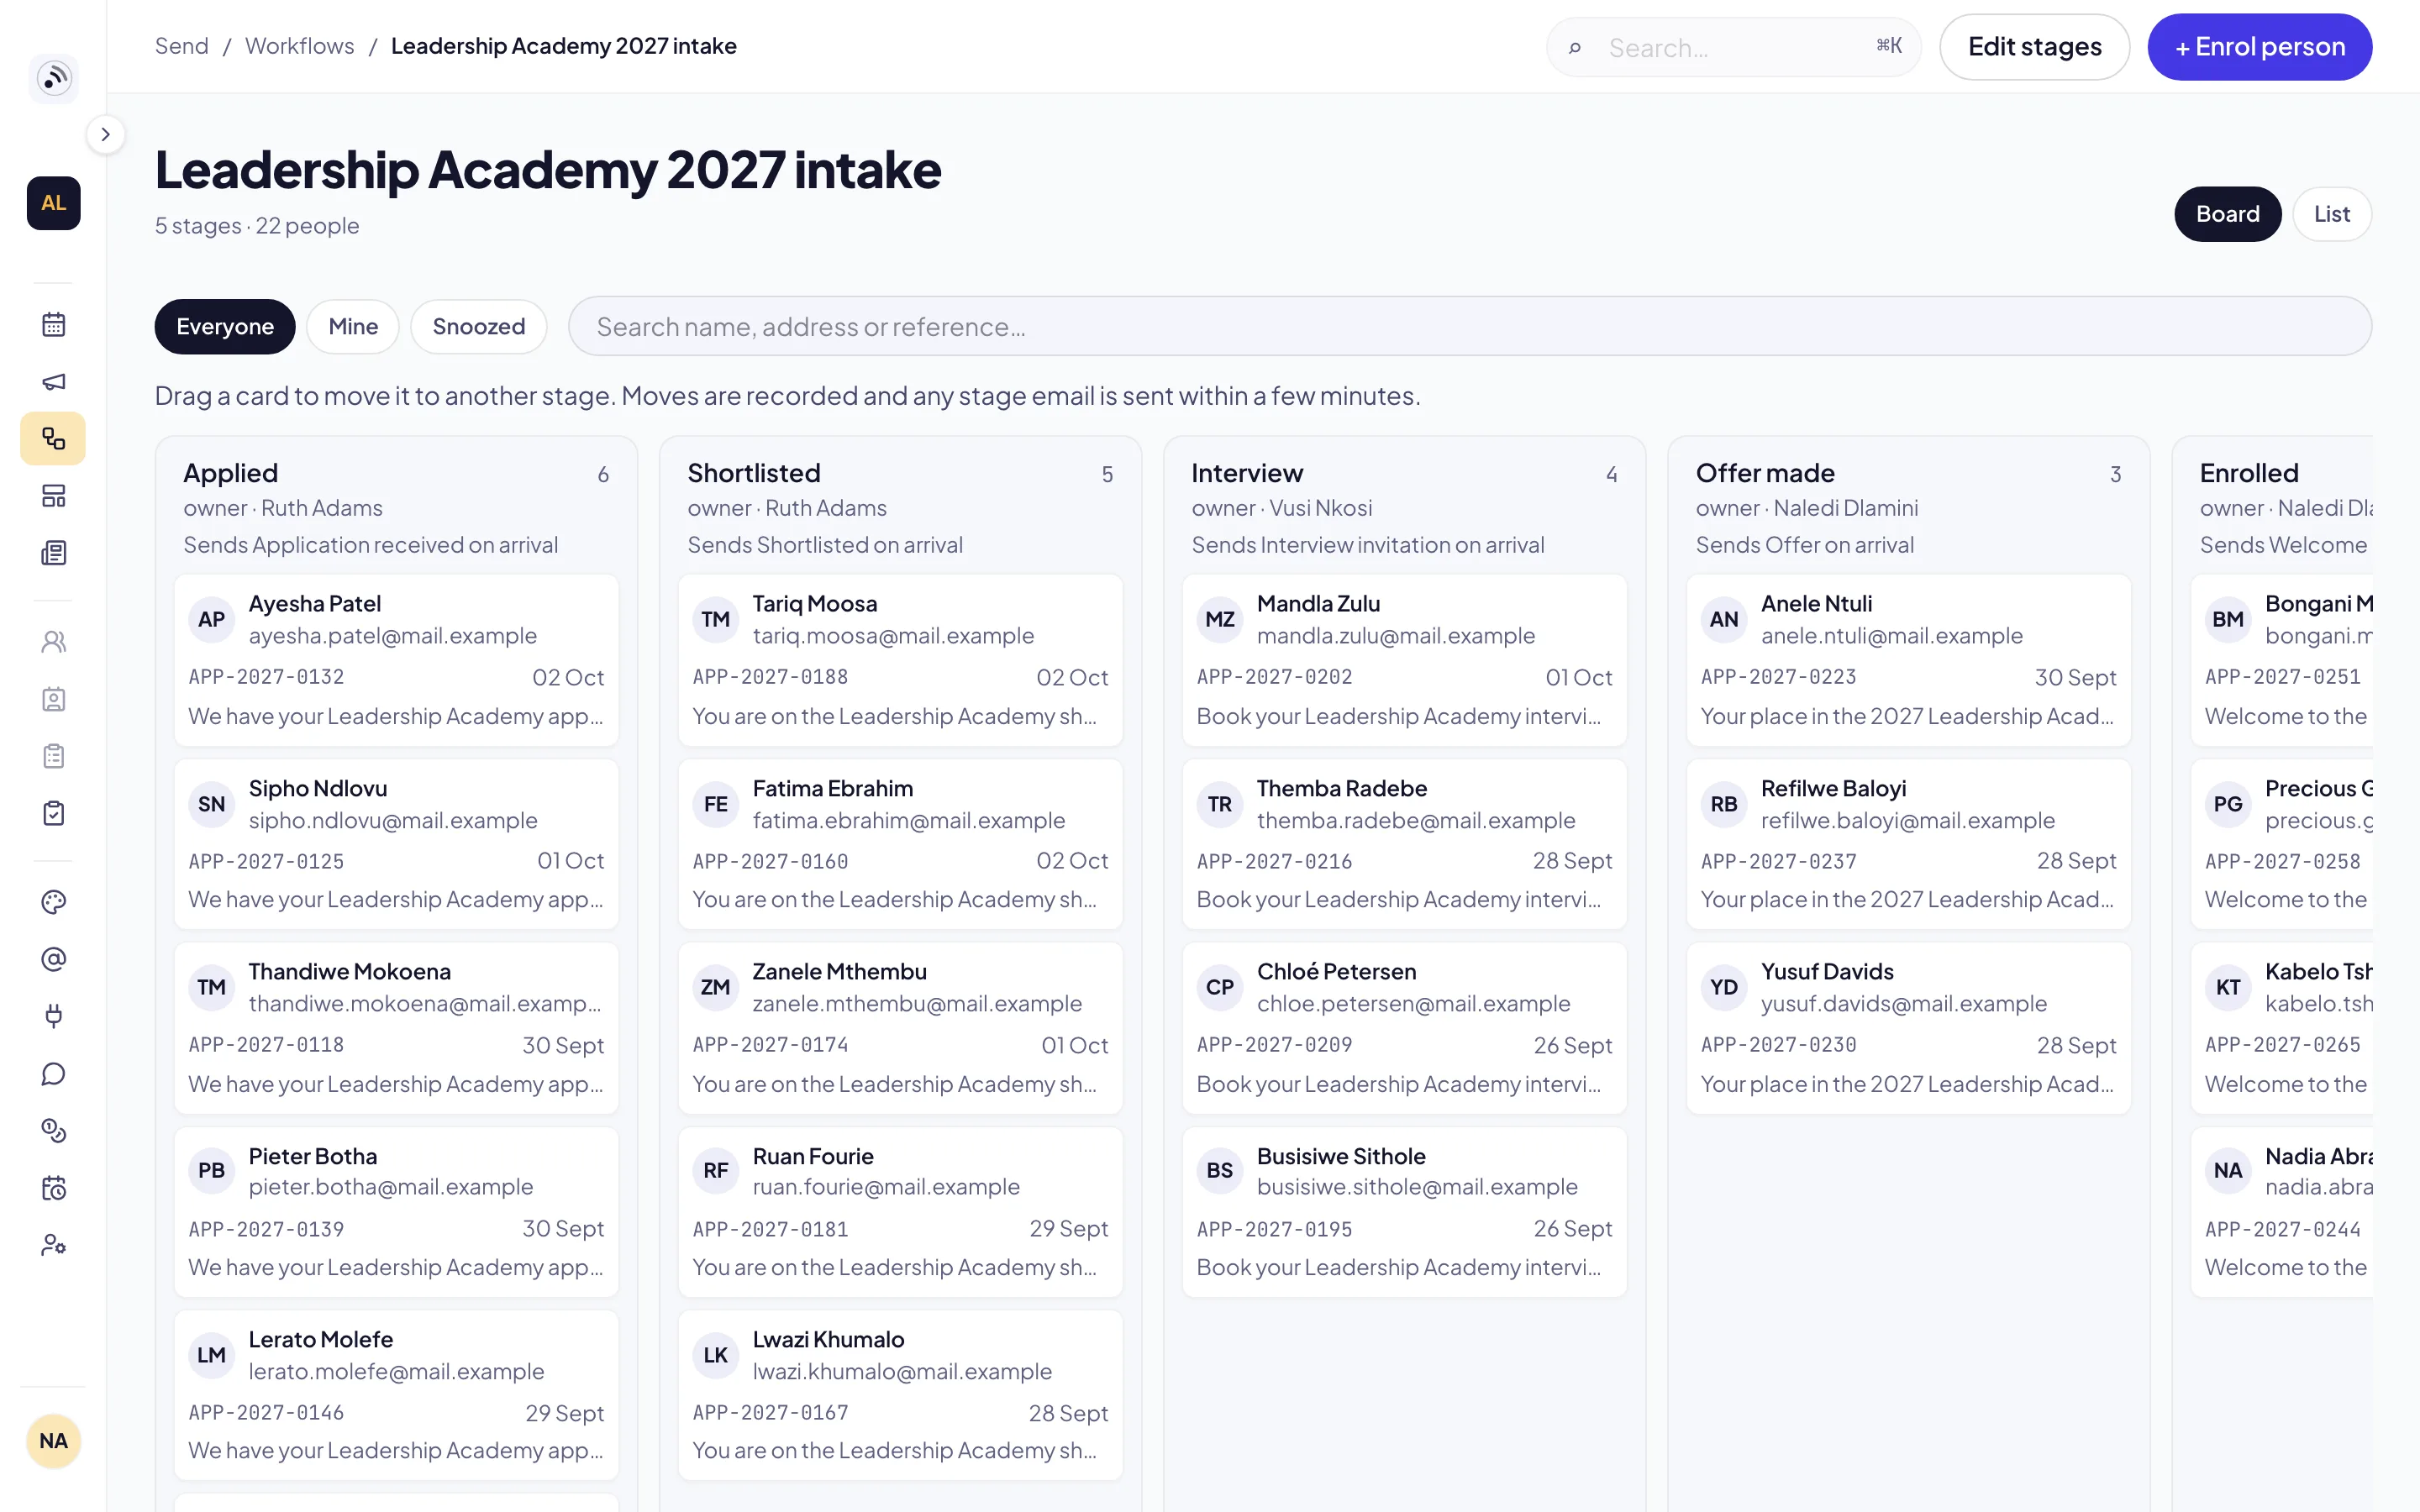
Choose Switch on. Reach opens the workflow’s board.
Follow people on the board
The board shows every person at their stage. + Enrol person adds someone by hand, Edit stages names and orders the stages, and Board and List switch between the two views.
Good to know
Switch on stays unavailable while any step still needs attention; Save draft keeps your work for later.
Waits can count business days, skipping South African public holidays and your own closures: set them under Setup → Working days.
To see the steps as a tree, see See a workflow as a tree.