
System emails and branding
Overview
Pages sends emails for your organisation, such as registration confirmations, receipts and application links. Under Email you change what each one says and the look it is sent in. The organisation, each location and each event can have its own.
Before you start
To see the screens, your role needs Read on Email. To change templates and branding, it needs Edit on Email. See Roles and access.
To change an event’s own emails, your role also needs Manage events for that event.
Change what an email says
Open the templates
In the sidebar, select Settings › Email. The Templates tab lists each email and its Recipient.
Open an email
Select Edit on the email’s row. The editor opens, with a preview beside it.
Select where it applies
Set Applies to to the organisation or to one location. Status shows where the words now come from.
Change the words
Type the Subject, Preheader, Heading, Introduction, Body, Button label and Footnote. The preview follows your changes.
Add a merge field
Set Insert field to a field, such as Event name. It goes into the part you are typing in, as
{{event.name}}.Send a test
Select Send test. A message names the address the test went to.
Save
Select Save. A message says the template is saved, and Status shows the new template.
Change the look
Open Branding
Select the Branding tab. Organisation branding says From the site’s theme until you change it.
Edit the organisation’s look
Select Edit. Fill in the fields you want to change, such as Logo, Accent colour and Footer.
Save the look
Select Save. A message says the branding is saved.
Give a location its own look
Under Locations, select Customise on the location’s row. Change the fields, then select Save.
Add a named branding
Under Named brandings, select New branding. Type a Name, such as Youth, then select Save. Events can now use it.
Give an event its own emails
Open the event
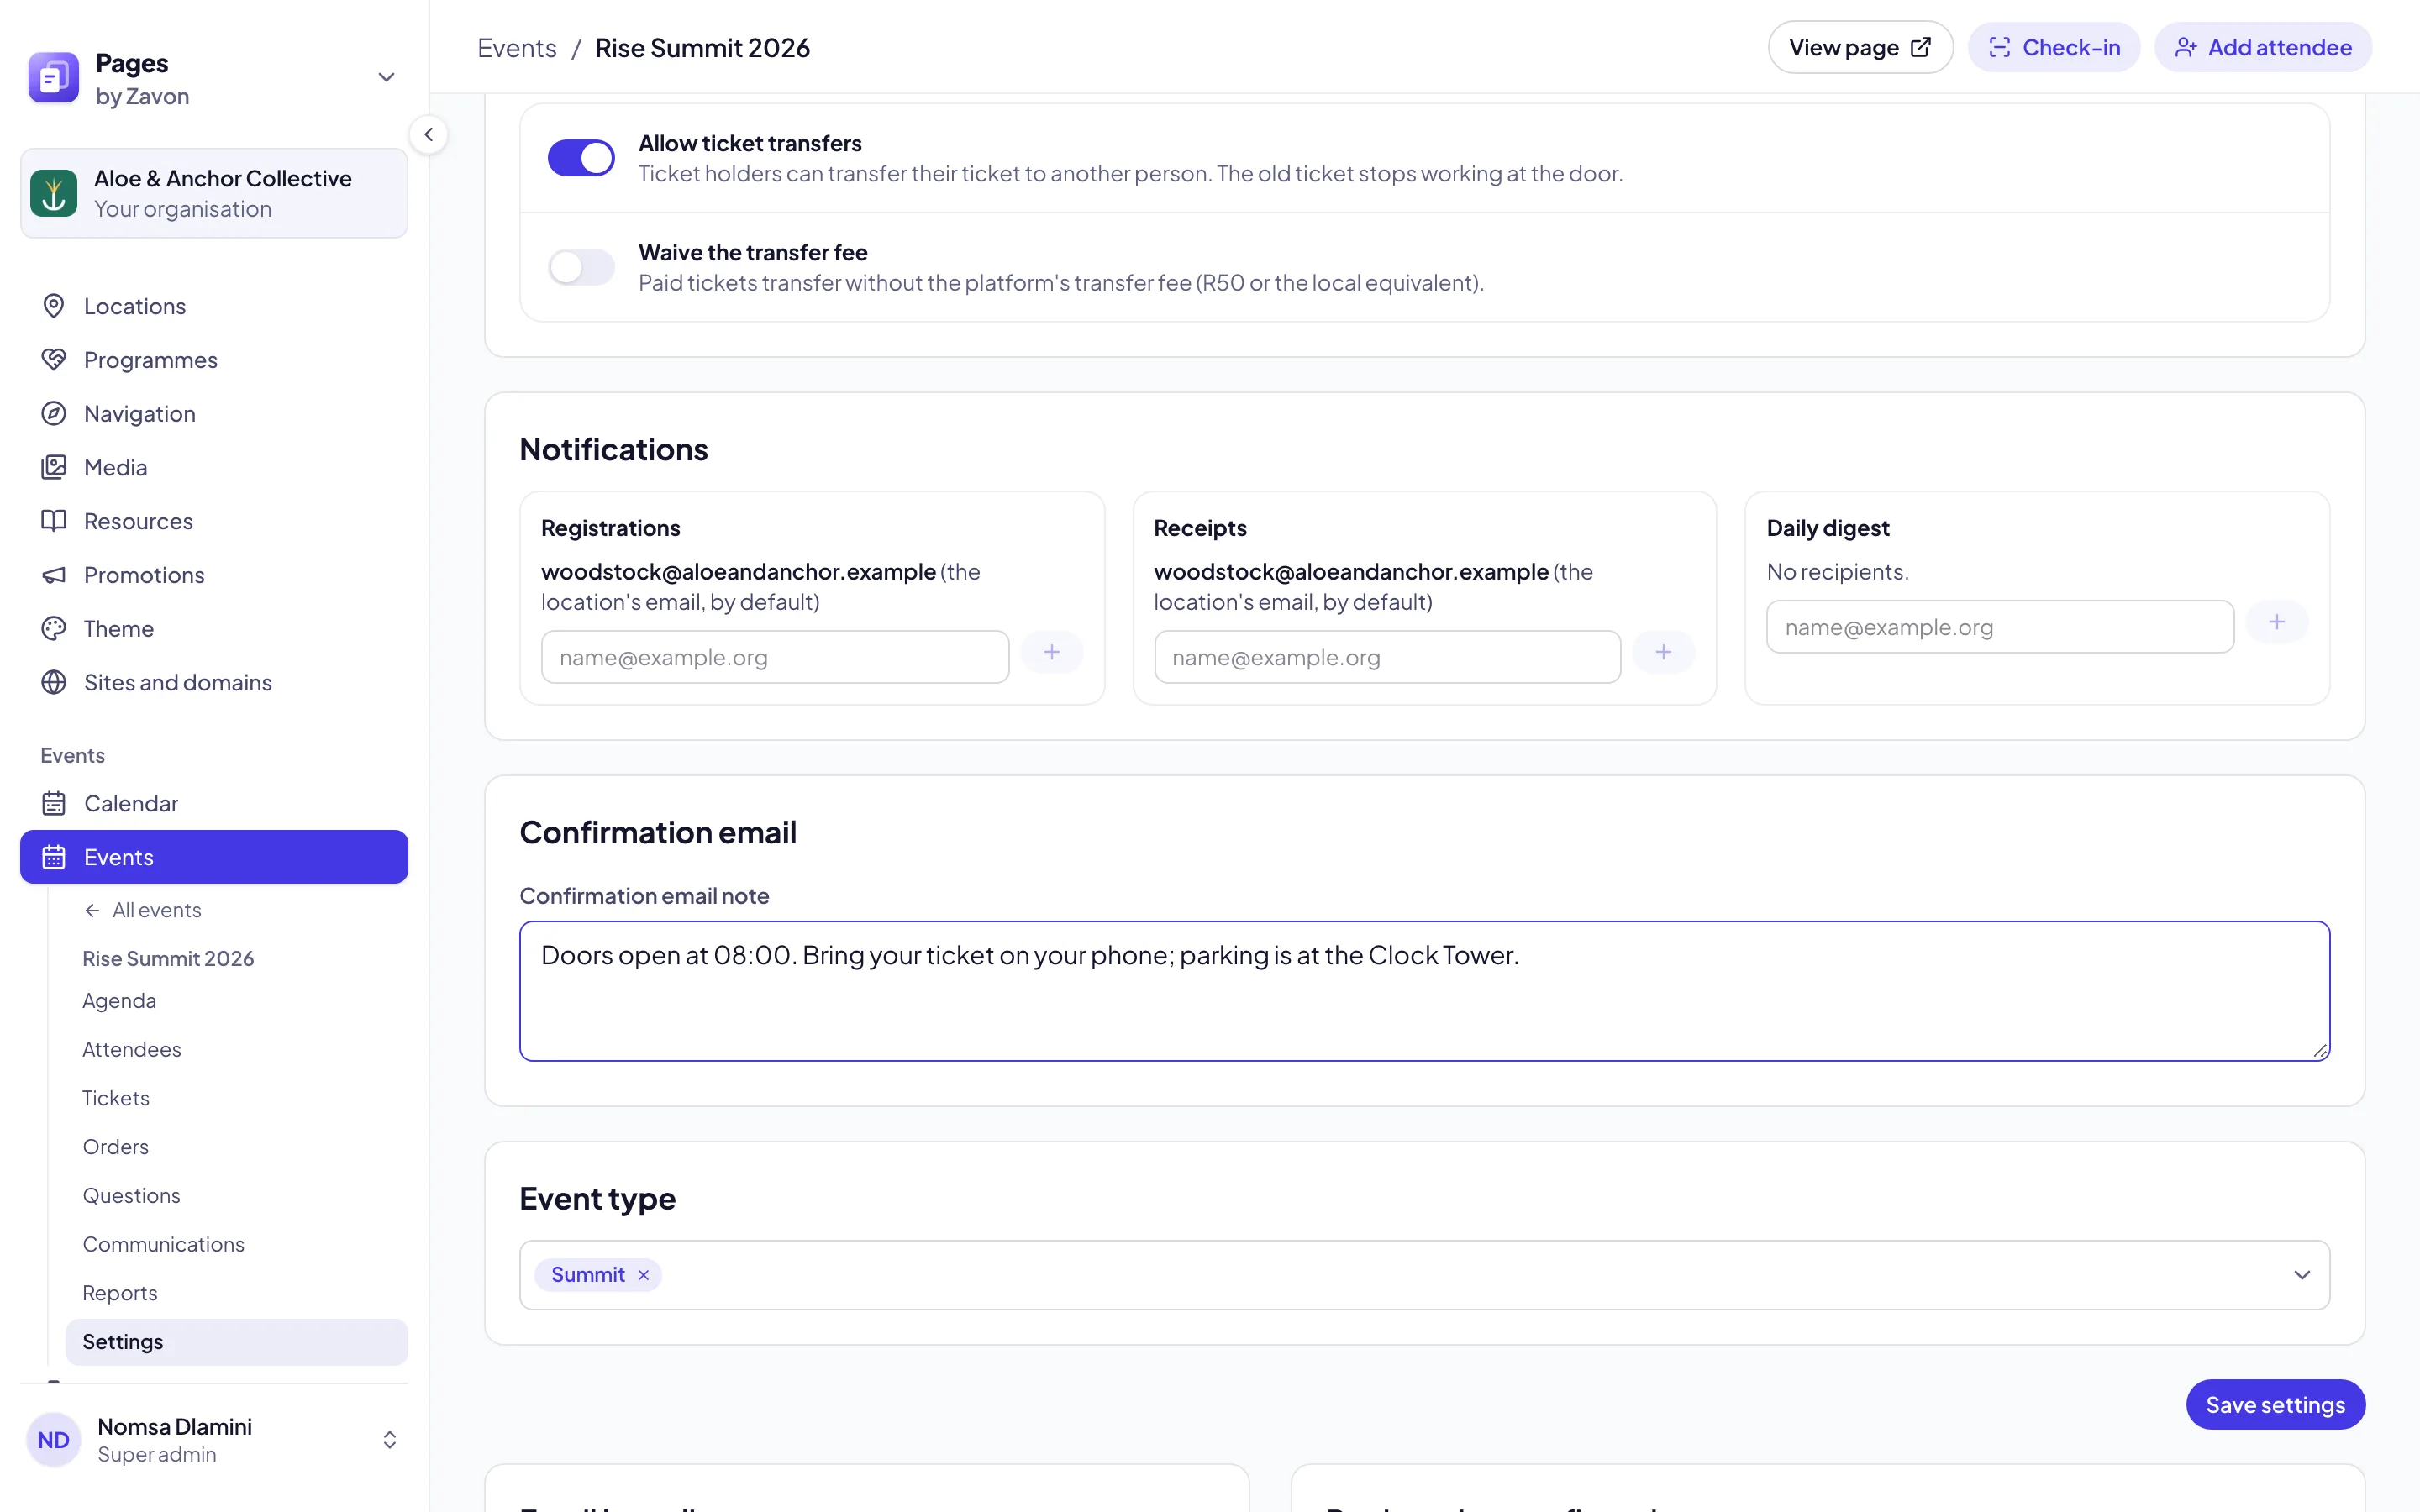
Open the event, then select its Settings tab.
Select the branding
Under Email branding, set Branding to a named branding. Select Save.
Change one email
Under Emails, select Customise beside an email. The editor opens with Applies to set to the event.
Troubleshooting
If Applies to is grey, you have changes that are not saved. Save or discard them first.
If Reset to default is grey, the email already uses the template that a reset would give it.
If the fields are grey, your role cannot edit this email here. Point to a field to read why.
If an email is not in the list, open Other system emails. Those emails are not edited here, and Managed in says where they are.
If a save is refused, read the message. It names the part the email cannot fill in.
Good to know
The nearest template wins. An email uses the event’s template first, then the location’s, then the organisation’s, then the default.
Reset. Reset to default removes the template at this level. Status then says which template the email uses.
Discard changes puts back the words as they were when you opened the email.
The default look. With nothing changed, emails use your site’s logo and your theme’s colour.
Formatting. Above Body, the Bold, Link and Bulleted list buttons format the text. Insert block adds a part such as the registration details.
Preview branding. Beside the preview, Preview branding shows the email in another branding before you use it.
Tickets and calendars: what the registration confirmation carries.
Add an event and sell tickets: the event’s Settings tab.
Programmes and applications: the application emails.
Theme: the logo and colour the emails start from.
Roles and access: who may edit emails.